Author: Lyndon Conaway

  • Untitled post 16419

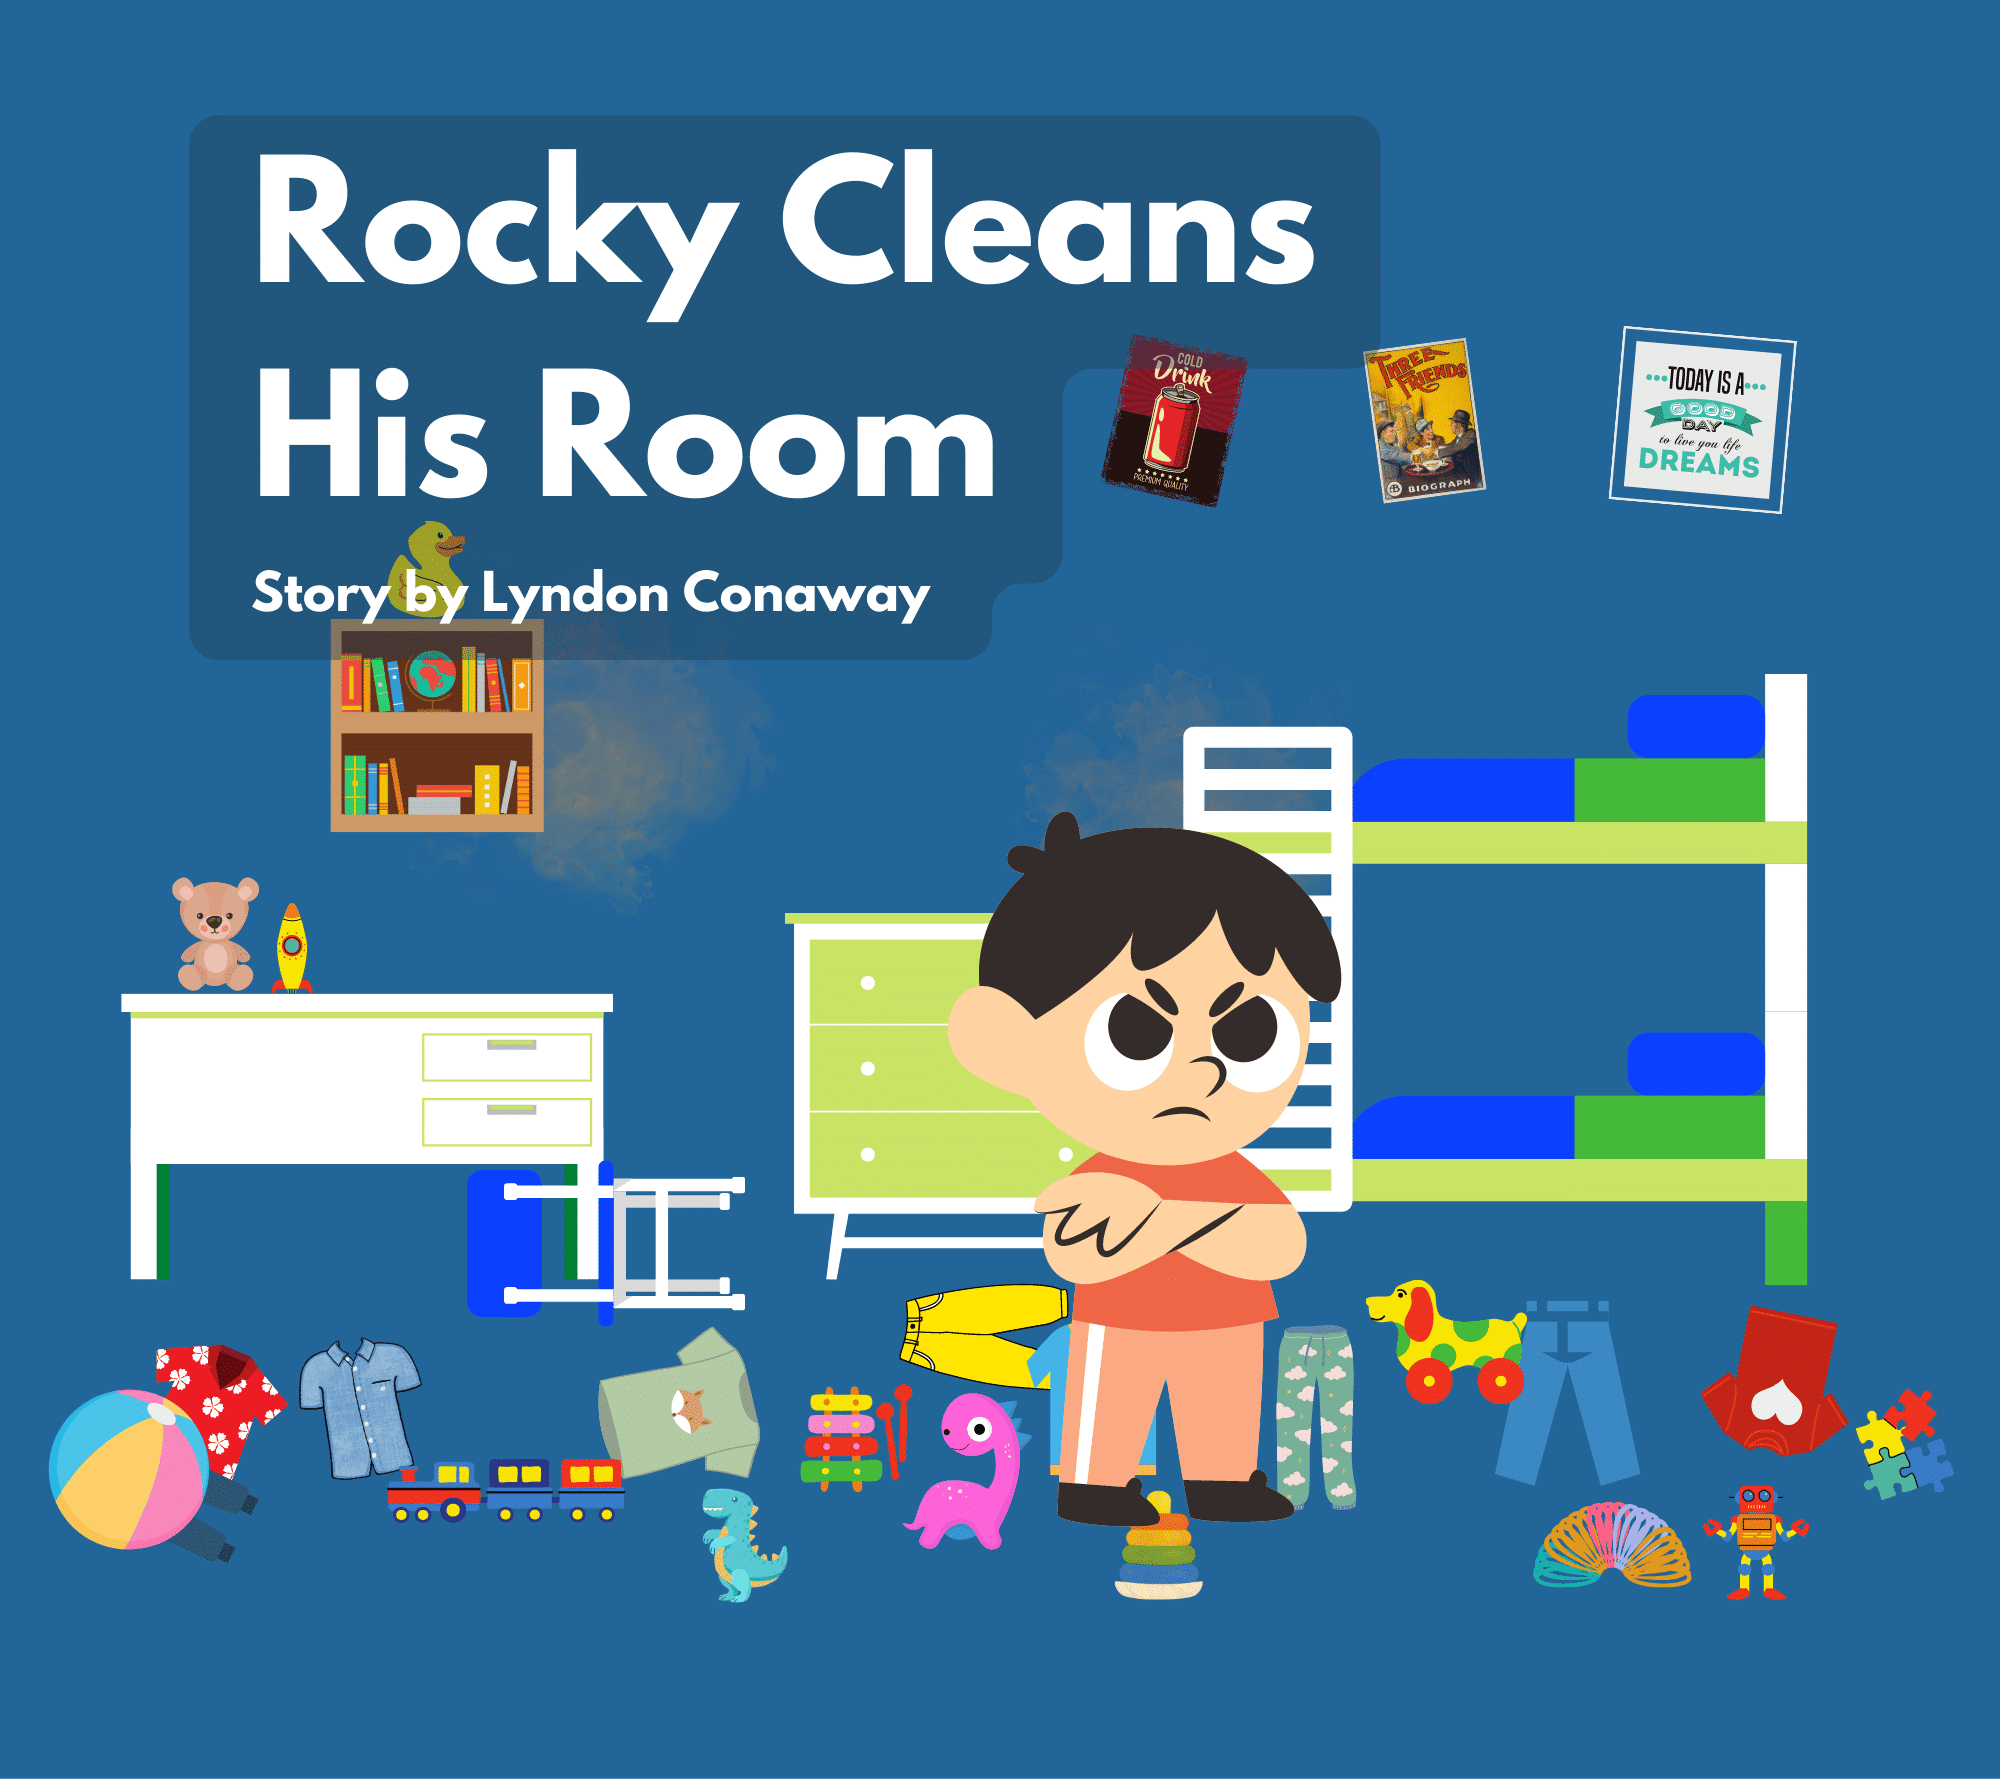
    Rocky Cleans His Room

    Click the link to buy from Amazon.com

    Get your child excited about cleaning with “Rocky Cleans His Room“! This interactive children’s book follows the story of Rocky, a young boy who learns the importance of keeping his room clean and organized. With colorful illustrations and fun, relatable characters, your child will be engaged and entertained while learning valuable life skills. This book is perfect for teaching children about responsibility, organization, and the importance of maintaining a clean living space. Order your copy today and make cleaning fun for the whole family!

  • Untitled post 16408

    Lunchbox Hygiene Hacks: Nourishing Kids, One Clean Bite at a Time!

    Hello, lunchtime champions,

    As the school bells ring once more, it’s time to pack a punch of health and happiness in every lunchbox! Germz Be Gone is here with a spread of “Lunchbox Hygiene Hacks” to ensure your little ones enjoy their meals in the cleanest and most delightful way possible. From wholesome snacks to refreshing beverages, get ready to master the art of lunchbox hygiene.


    lunchbox hygiene hacks

    🍽️💧 Savoring Clean and Fresh Bites 💧🍽️

    Our “Lunchbox Hygiene Hacks” guide is your passport to crafting lunchtime experiences that are both tasty and germ-free. Let’s dive into some savory tips:

    1. **Prep with Precision**: Wash hands thoroughly before handling food. Opt for well-sealed containers to prevent spills and cross-contamination.

    2. **Temperature Matters**: Pack perishable items with ice packs to keep them at safe temperatures, ensuring your child enjoys fresh and safe meals.

    3. **Smart Snack Separation**: Use dividers or silicone cups to separate different foods. This not only keeps flavors distinct but also prevents moisture buildup.

    4. **Hydration Hints**: Encourage hydration with a reusable water bottle. Choose BPA-free options and wash daily to ensure pure sips throughout the day.

    5. **Easy-to-Clean Utensils**: Include reusable utensils in a clean, protective pouch. Avoid single-use plastics for an eco-friendly lunchtime routine.

    6. **Wipe and Freshen**: Include pre-packaged wet wipes or a clean cloth for your child to wipe their hands before and after eating.

    7. **Allergen Awareness**: If allergies are a concern, clearly label and separate allergen-free items from the rest of the lunch.

    8. **Cleanup Connoisseurs**: Teach kids to clean their lunchbox and utensils after use. A clean lunchbox sets the stage for a healthier next meal.

    🍏🥤 Nourish, Delight, Repeat 🥤🍏

    With “Lunchbox Hygiene Hacks,” you’re equipped to send your little one off with a lunch that’s not only delicious but also safe and hygienic. From creative food arrangements to smart packing techniques, these hacks ensure a lunchtime experience that leaves both tummies and hearts full.

    Stay tuned for more Back-to-School insights from Germz Be Gone. We’re here to help you create a joyful and clean learning journey for your child.

    Healthy bites,
    The Germz Be Gone Team 🍎🥪


  • Untitled post 16398

    The Playroom Reset: A Clean Start for Back-to-School Adventures!

    Greetings, playtime enthusiasts,

    As the back-to-school season dawns upon us, it’s time to transform your little one’s playroom into a vibrant space that sparks imagination and fosters creativity. At Germz Be Gone, we believe that a clean and organized playroom is not only essential for your child’s well-being but also an opportunity to inspire learning and exploration. Get ready to embark on “The Playroom Reset” – a journey to revitalize your play space for the exciting adventures that lie ahead.


    playroom reset, kids' playroom organization, decluttering tips, playroom cleaning, organizing toys, creative storage solutions, tidy play space, clean playroom environment, child's play area, organizing for kids, playroom transformation


    The Magic of a Fresh Start

    Remember the days when the playroom was a haven of endless fun, laughter, and discovery? It’s time to recapture that magic! Our “Playroom Reset” guide is your key to transforming cluttered chaos into a clean canvas of possibilities. Here’s a glimpse of what’s in store:

    1. Declutter and Donate: Begin by decluttering the playroom. Set aside toys that your child has outgrown or no longer plays with. Donating them can bring joy to other children while creating space for new adventures.

    2. Clean and Sanitize: A thorough cleaning is a fantastic way to start anew. Wipe down surfaces, dust corners, and sanitize frequently-touched areas. Our expert cleaning tips will ensure a hygienic play space that sparks joy.

    3. Storage Solutions: Explore creative storage ideas that make tidying up a breeze. From colorful bins to wall-mounted shelves, discover options that keep toys organized and easily accessible.

    4. Designated Zones: Establish different play zones within the room. Create a reading nook, an art corner, a building zone, and more. This encourages focused play and makes cleanup less daunting.

    5. Decorate with Purpose: Infuse the playroom with elements that inspire learning and imagination. Educational posters, world maps, and interactive displays can turn the playroom into a captivating learning environment.

    6. Toy Rotation Strategy: Rotate toys every few weeks to keep the play experience fresh and exciting. It’s a simple technique that prevents clutter while maximizing engagement.

    7. Incorporate Cleaning into Play: Teach your child the importance of tidiness by incorporating cleaning into playtime. Fun games like “toy race cleanup” can make tidying up a delightful activity.

    Embrace the Playroom Renaissance

    “The Playroom Reset” is your opportunity to create a space where your child’s imagination knows no bounds. It’s a canvas waiting to be filled with stories, creations, and boundless exploration. Whether your child is building castles, painting masterpieces, or embarking on imaginative adventures, a clean and organized playroom sets the stage for their growth.

    Stay tuned for more tips and inspiration as we guide you through a successful Back-to-School season. The Germz Be Gone team is here to support your journey towards a healthier, more vibrant playroom that reflects the limitless potential of your child’s imagination.

    Let’s reset, revitalize, and revel in the joy of play!

    Playfully yours,

    The Germz Be Gone Team

  • Untitled post 16314

    Child Car Seat Cleaning Time Requirements

    The health and safety of your child are paramount, so taking the time to clean the car seat properly is well worth the effort.

    The time required to clean a child’s car seat using the step-by-step tutorial provided can vary depending on factors such as the size of the car seat, the level of dirt or stains present, and individual cleaning preferences. On average, the cleaning process may take approximately 30 minutes to an hour.

    Here’s a rough breakdown of the time allocation for each step:

    • Preparation: 5 minutes
    • Removing the cover: 2-5 minutes
    • Vacuuming: 5-10 minutes
    • Spot cleaning: 5-10 minutes
    • Deep cleaning: 10-15 minutes
    • Rinse and dry: 10-15 minutes
    • Cleaning the straps and buckles: 5-10 minutes
    • Reassembly: 5-10 minutes
    • Final check: 2-5 minutes

    Please note that these time estimates are approximate and can vary based on individual circumstances.

    Time Management Techniques

    Here are some tips to better manage your time while cleaning a car seat:

    1. Plan Ahead: Set aside dedicated time in your schedule specifically for cleaning the car seat.

    2. Gather Supplies in Advance: Ensure you have all the necessary supplies and tools readily available.

    3. Follow a Step-by-Step Guide: Refer to a reliable guide or tutorial for an organized and efficient cleaning process.

    4. Delegate Tasks: Consider delegating certain tasks to save time and work as a team.

    5. Use Efficient Cleaning Techniques: Opt for time-saving techniques like using a vacuum cleaner with a brush attachment.

    6. Allow Adequate Drying Time: Allocate sufficient time for the car seat to dry completely after cleaning.

    7. Establish a Cleaning Routine: Regularly clean and maintain the car seat to prevent excessive dirt or stains.

    Remember, efficient time management is key to completing any task effectively. By implementing these tips, you can streamline the car seat cleaning process and make the most of your time while ensuring a clean and safe environment for your child.

  • Untitled post 16206
    (adsbygoogle = window.adsbygoogle || []).push({});

    .vce-row-container .vcv-lozad {display: none}

    .woocommerce-product-gallery{ opacity: 1 !important; }

    How to Keep Your Baby Gear Mold and Mildew Free (and Your Sanity Intact)

    Keeping your baby gear mold and mildew free is essential for your child’s health and safety. Mold and mildew thrive in damp environments and can cause various health issues, including respiratory problems and allergies. Plus, who wants a moldy stroller, right? Follow these steps to ensure your baby gear stays clean, safe, and fabulously fresh.

    1. Regular Cleaning – Because Baby Gear Isn’t Self-Cleaning (Yet)

    Clean your baby gear regularly to prevent mold and mildew buildup. Use mild soap and water to wipe down surfaces. And don’t forget to dry everything thoroughly – mold loves moisture like a baby loves their pacifier.

    Regular cleaning is crucial because mold spores are everywhere, just waiting for a bit of moisture to thrive. Wiping down baby gear after every use, especially after spills or messy outings, helps keep these spores from settling in and making a home. Don’t forget the nooks and crannies – mold loves hidden, damp spots.

    2. Proper Storage – No, the Garage Isn’t Good Enough

    Store baby gear in a dry, well-ventilated area. Avoid keeping items in damp basements or garages where mold is more likely to develop. Your baby’s car seat deserves better than to share space with old paint cans and forgotten sports equipment.

    Proper storage is vital for preventing mold. A dry, well-ventilated area helps ensure that your baby gear stays moisture-free. If possible, use storage bags or containers that can keep humidity out. Always ensure that gear is completely dry before storing it away, as even a little bit of moisture can lead to mold growth.

    3. Use Moisture Absorbers – For When You Need Backup

    Place moisture absorbers, such as silica gel packets or dehumidifiers, in areas where you store baby gear. These products help reduce humidity and keep mold at bay. Think of them as tiny, silent heroes in the battle against mold.

    Moisture absorbers can be particularly useful in more humid climates where keeping things dry can be a constant battle. Products like silica gel packets can be placed in storage bags or containers, and dehumidifiers can be used in larger storage areas to keep the overall humidity level low.

    4. Check for Mold Regularly – Sherlock Holmes Style

    Inspect your baby gear frequently for any signs of mold or mildew. Look for dark spots or musty smells – if it smells like the inside of an old shoe, it’s probably mold. Channel your inner detective and keep that gear spotless.

    Regular inspections are your best defense against mold. Catching mold early makes it much easier to clean and prevents it from spreading. Make it a habit to give your baby gear a thorough check every week. Pay special attention to areas that are frequently damp or are often in contact with your child, like car seats and strollers.

    5. Wash Fabrics Often – Because Spit Happens

    Machine-wash removable fabric covers and padding regularly. Use hot water and a gentle detergent, and ensure they are completely dry before reassembling. Pro tip: Don’t reassemble until they’re drier than a desert.

    Washing fabrics not only keeps them clean but also removes any mold spores that might have settled. Hot water is particularly effective at killing mold spores. Make sure all parts are completely dry before putting them back together to prevent moisture from getting trapped inside.

    6. Sunlight Exposure – Nature’s Disinfectant

    Expose baby gear to sunlight periodically. UV rays from the sun help kill mold spores and dry out any lingering moisture. Plus, who doesn’t love a bit of sunshine? Just be sure not to leave plastic parts out too long, or they might start to resemble a Salvador Dalí painting.

    Sunlight is a natural disinfectant and can be very effective at killing mold spores. A few hours of sunlight exposure every week can do wonders for keeping mold at bay. Just be careful with plastic parts, as prolonged exposure can cause them to warp or become brittle.

    7. Ventilation – Fresh Air is Your Friend

    Ensure that areas where you store baby gear are well-ventilated. Use fans or open windows to allow fresh air to circulate and reduce humidity. If your storage area feels like a sauna, mold will feel right at home.

    Good ventilation helps keep humidity levels low and prevents mold growth. If your storage area is poorly ventilated, consider using fans or opening windows to improve air circulation. This can help keep things dry and mold-free.

    8. Address Spills Immediately – Don’t Cry Over Spilled Milk

    Clean up any spills or messes on baby gear immediately. Allowing liquids to sit can lead to mold growth. Remember, the quicker you clean, the less you have to worry about mysterious odors later.

    Spills and messes are inevitable, but they don’t have to lead to mold. Cleaning up spills as soon as they happen prevents moisture from seeping into fabrics and padding. Keep cleaning supplies handy so you can quickly address any messes.

    9. Use Mold-Resistant Products – Fight Mold Like a Pro

    Consider using mold-resistant sprays or treatments on baby gear, especially if you live in a humid climate. These products can provide an additional layer of protection against mold. It’s like giving your gear a superpower.

    Mold-resistant products can be particularly effective in preventing mold growth. Sprays and treatments create a barrier that makes it more difficult for mold to take hold. Be sure to follow the manufacturer’s instructions when applying these products to ensure they are effective.

    10. Professional Cleaning – When All Else Fails

    If mold or mildew does develop, consider professional cleaning services to thoroughly remove it. Professionals have the tools and expertise to handle mold effectively. Think of it as calling in the cavalry.

    Sometimes, despite your best efforts, mold can still take hold. When this happens, professional cleaning services can be a lifesaver. Professionals have the tools and expertise to thoroughly clean and disinfect baby gear, ensuring it is safe for your child to use.

    By following these steps, you can keep your baby gear mold and mildew free, ensuring a healthier environment for your little one. For more tips on keeping your baby gear clean, check out our detailed guide on Germz Be Gone.

    (adsbygoogle = window.adsbygoogle || []).push({});